![[Laser cut and engrave] Witchy Sign](https://image-res.xtool.com/ali-res/community/making/ba7ca721-2895-4614-a98e-8c5b0db57ce4/community%20how%20do.jpg?x-oss-process=image/resize,w_1200,h_900,limit_0/interlace,1/format,webp/auto-orient,1)
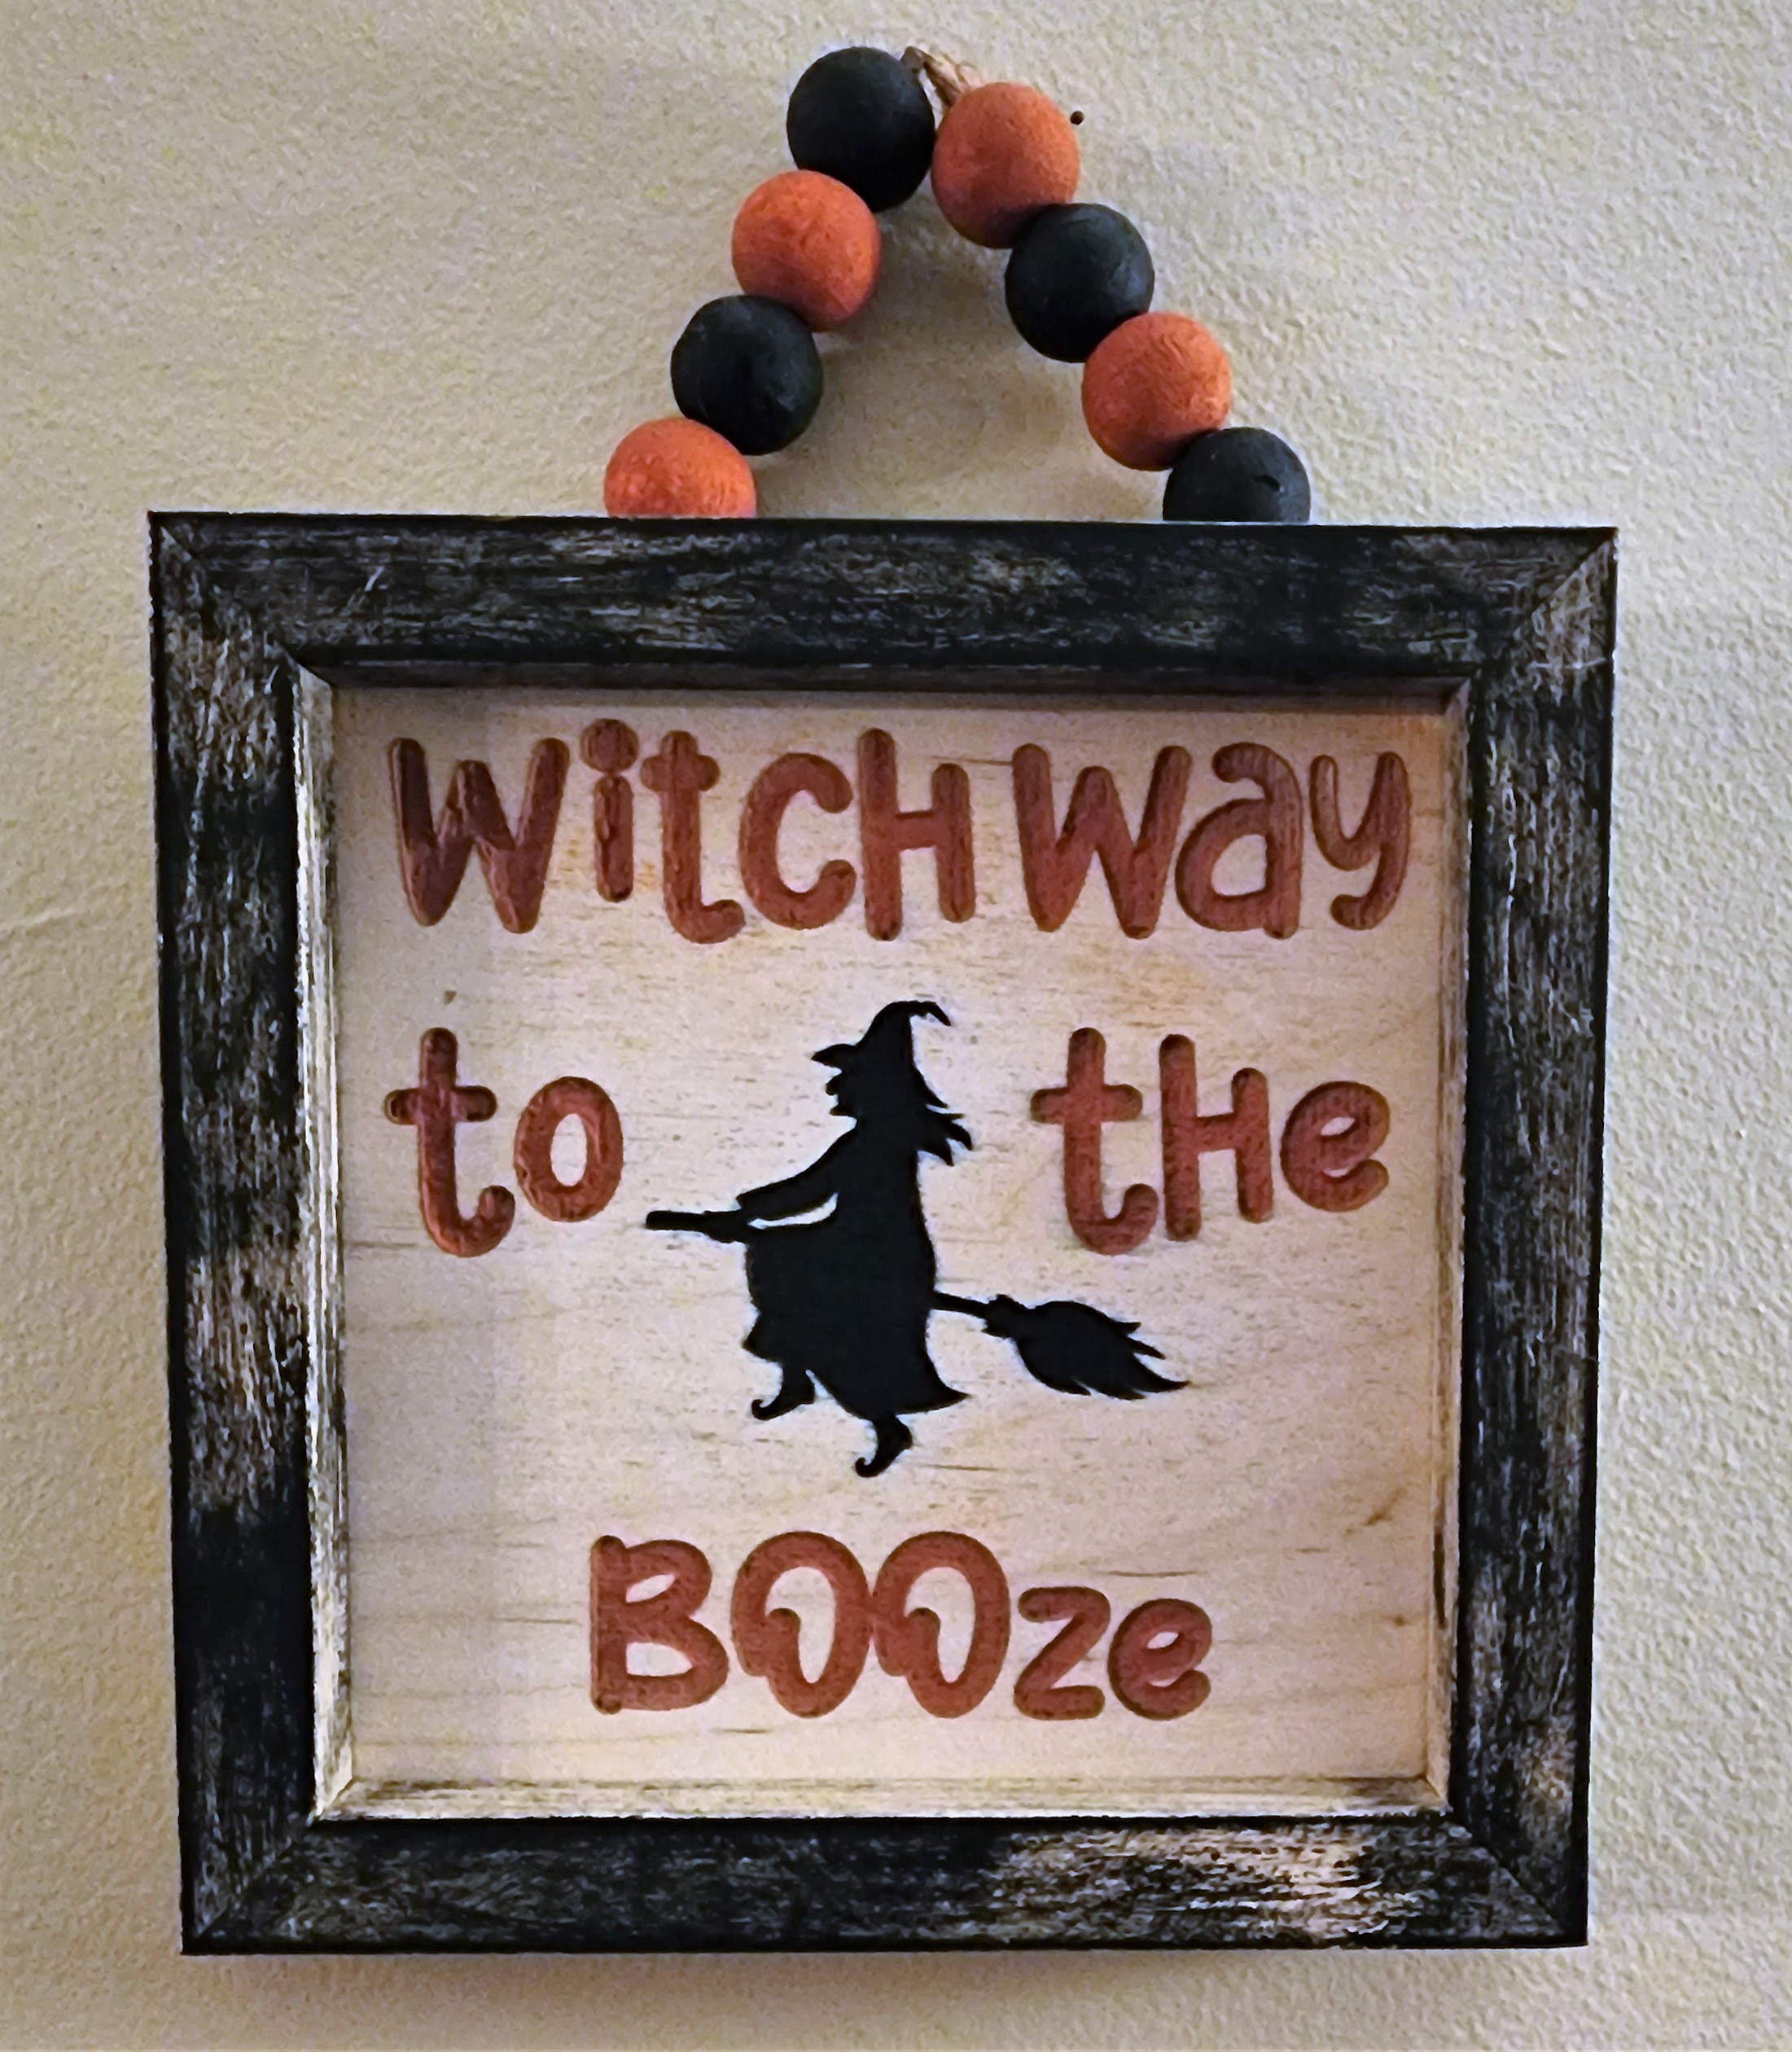
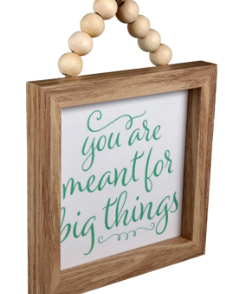
Witchy Sign
 Instruction
Instruction
Step1
Prepare wood.
I first sprayed the wood with a couple layers of sealer. After it was dry I applied paper masking tape just to reducing charring. These two steps are optional. I did run the laser a little higher than I normally would so that I could fill the engraving with paint. More on this later.
Step2
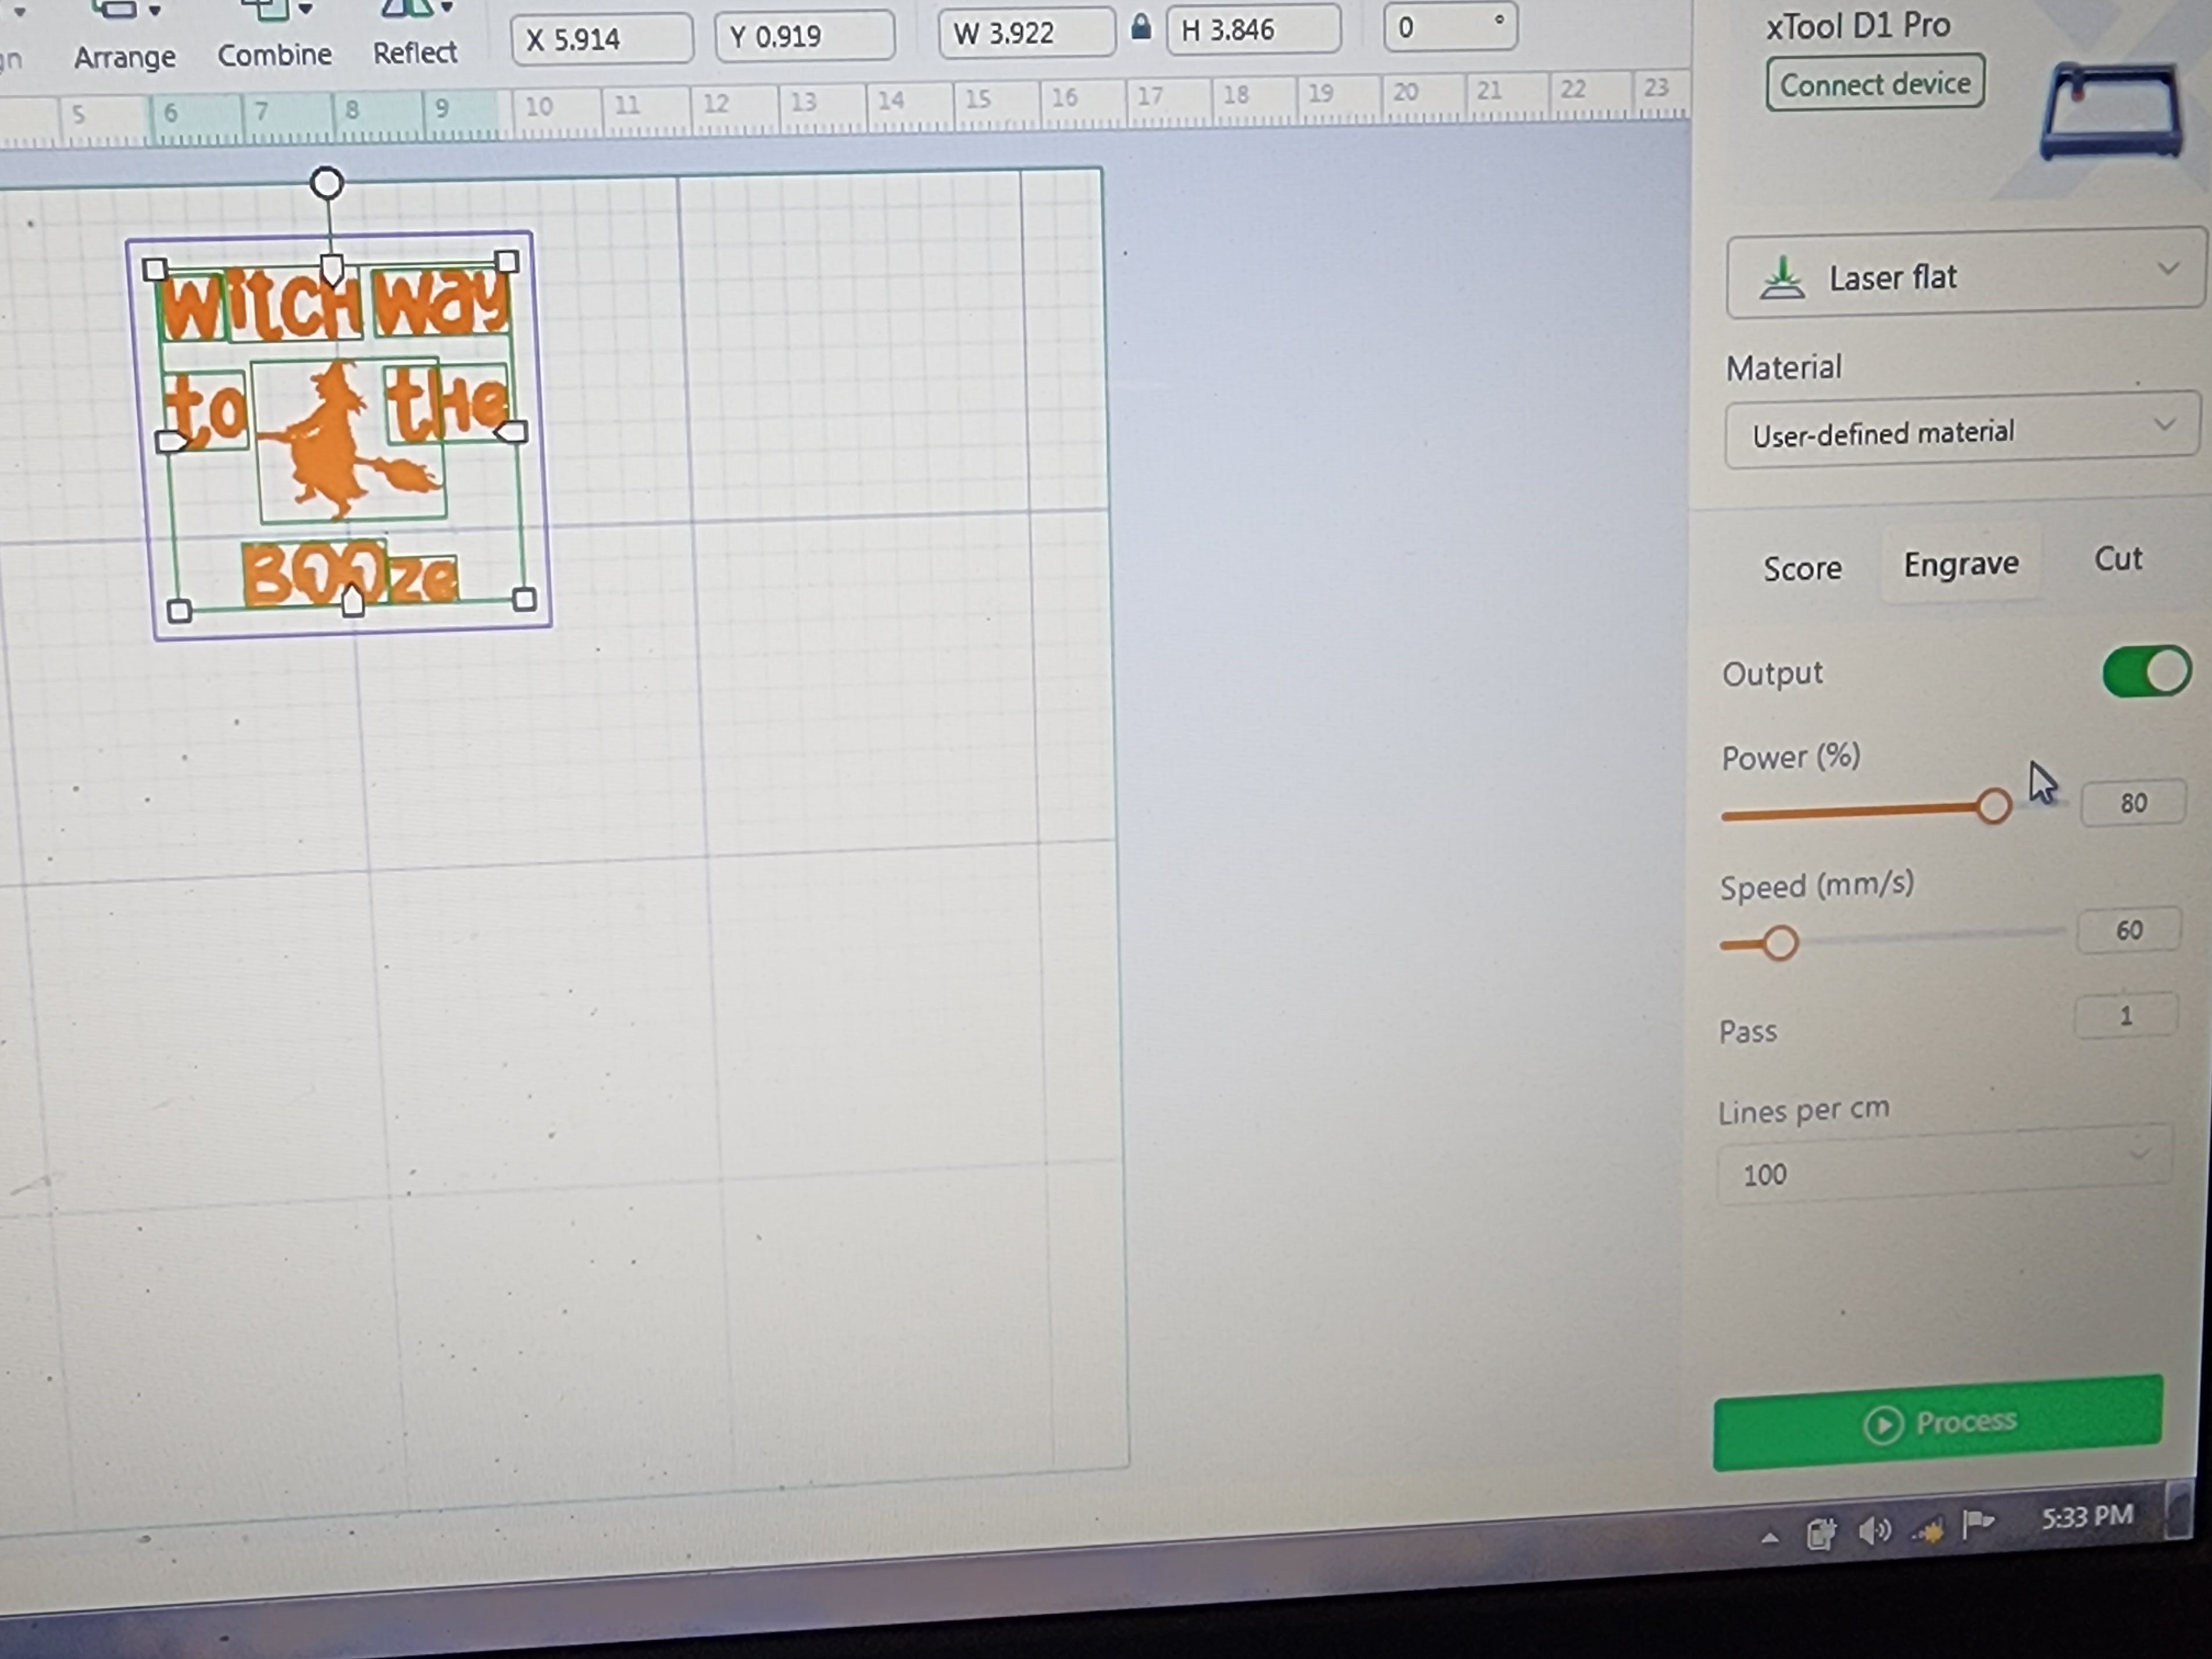
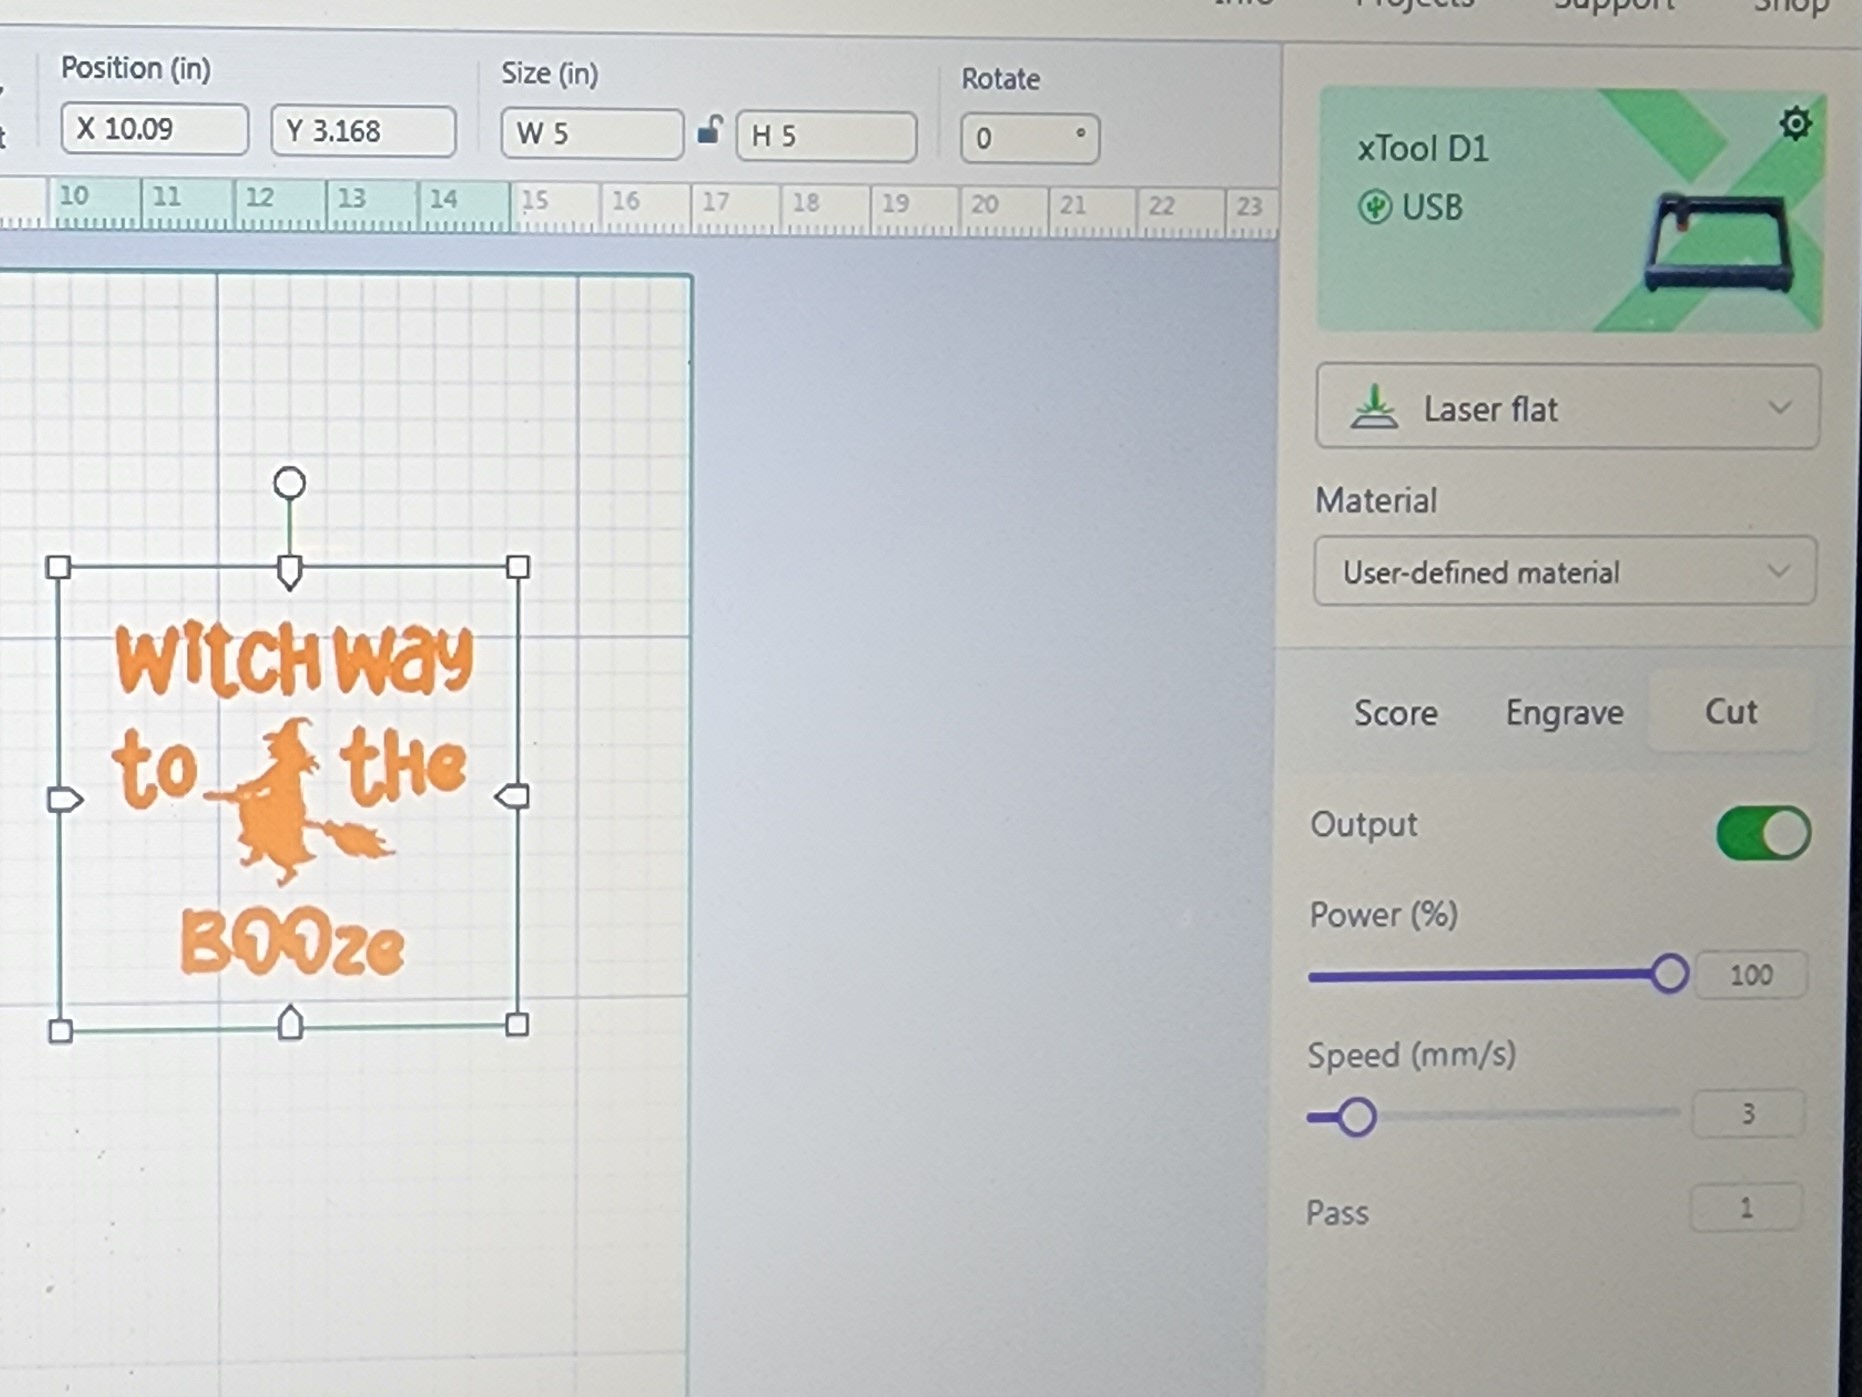
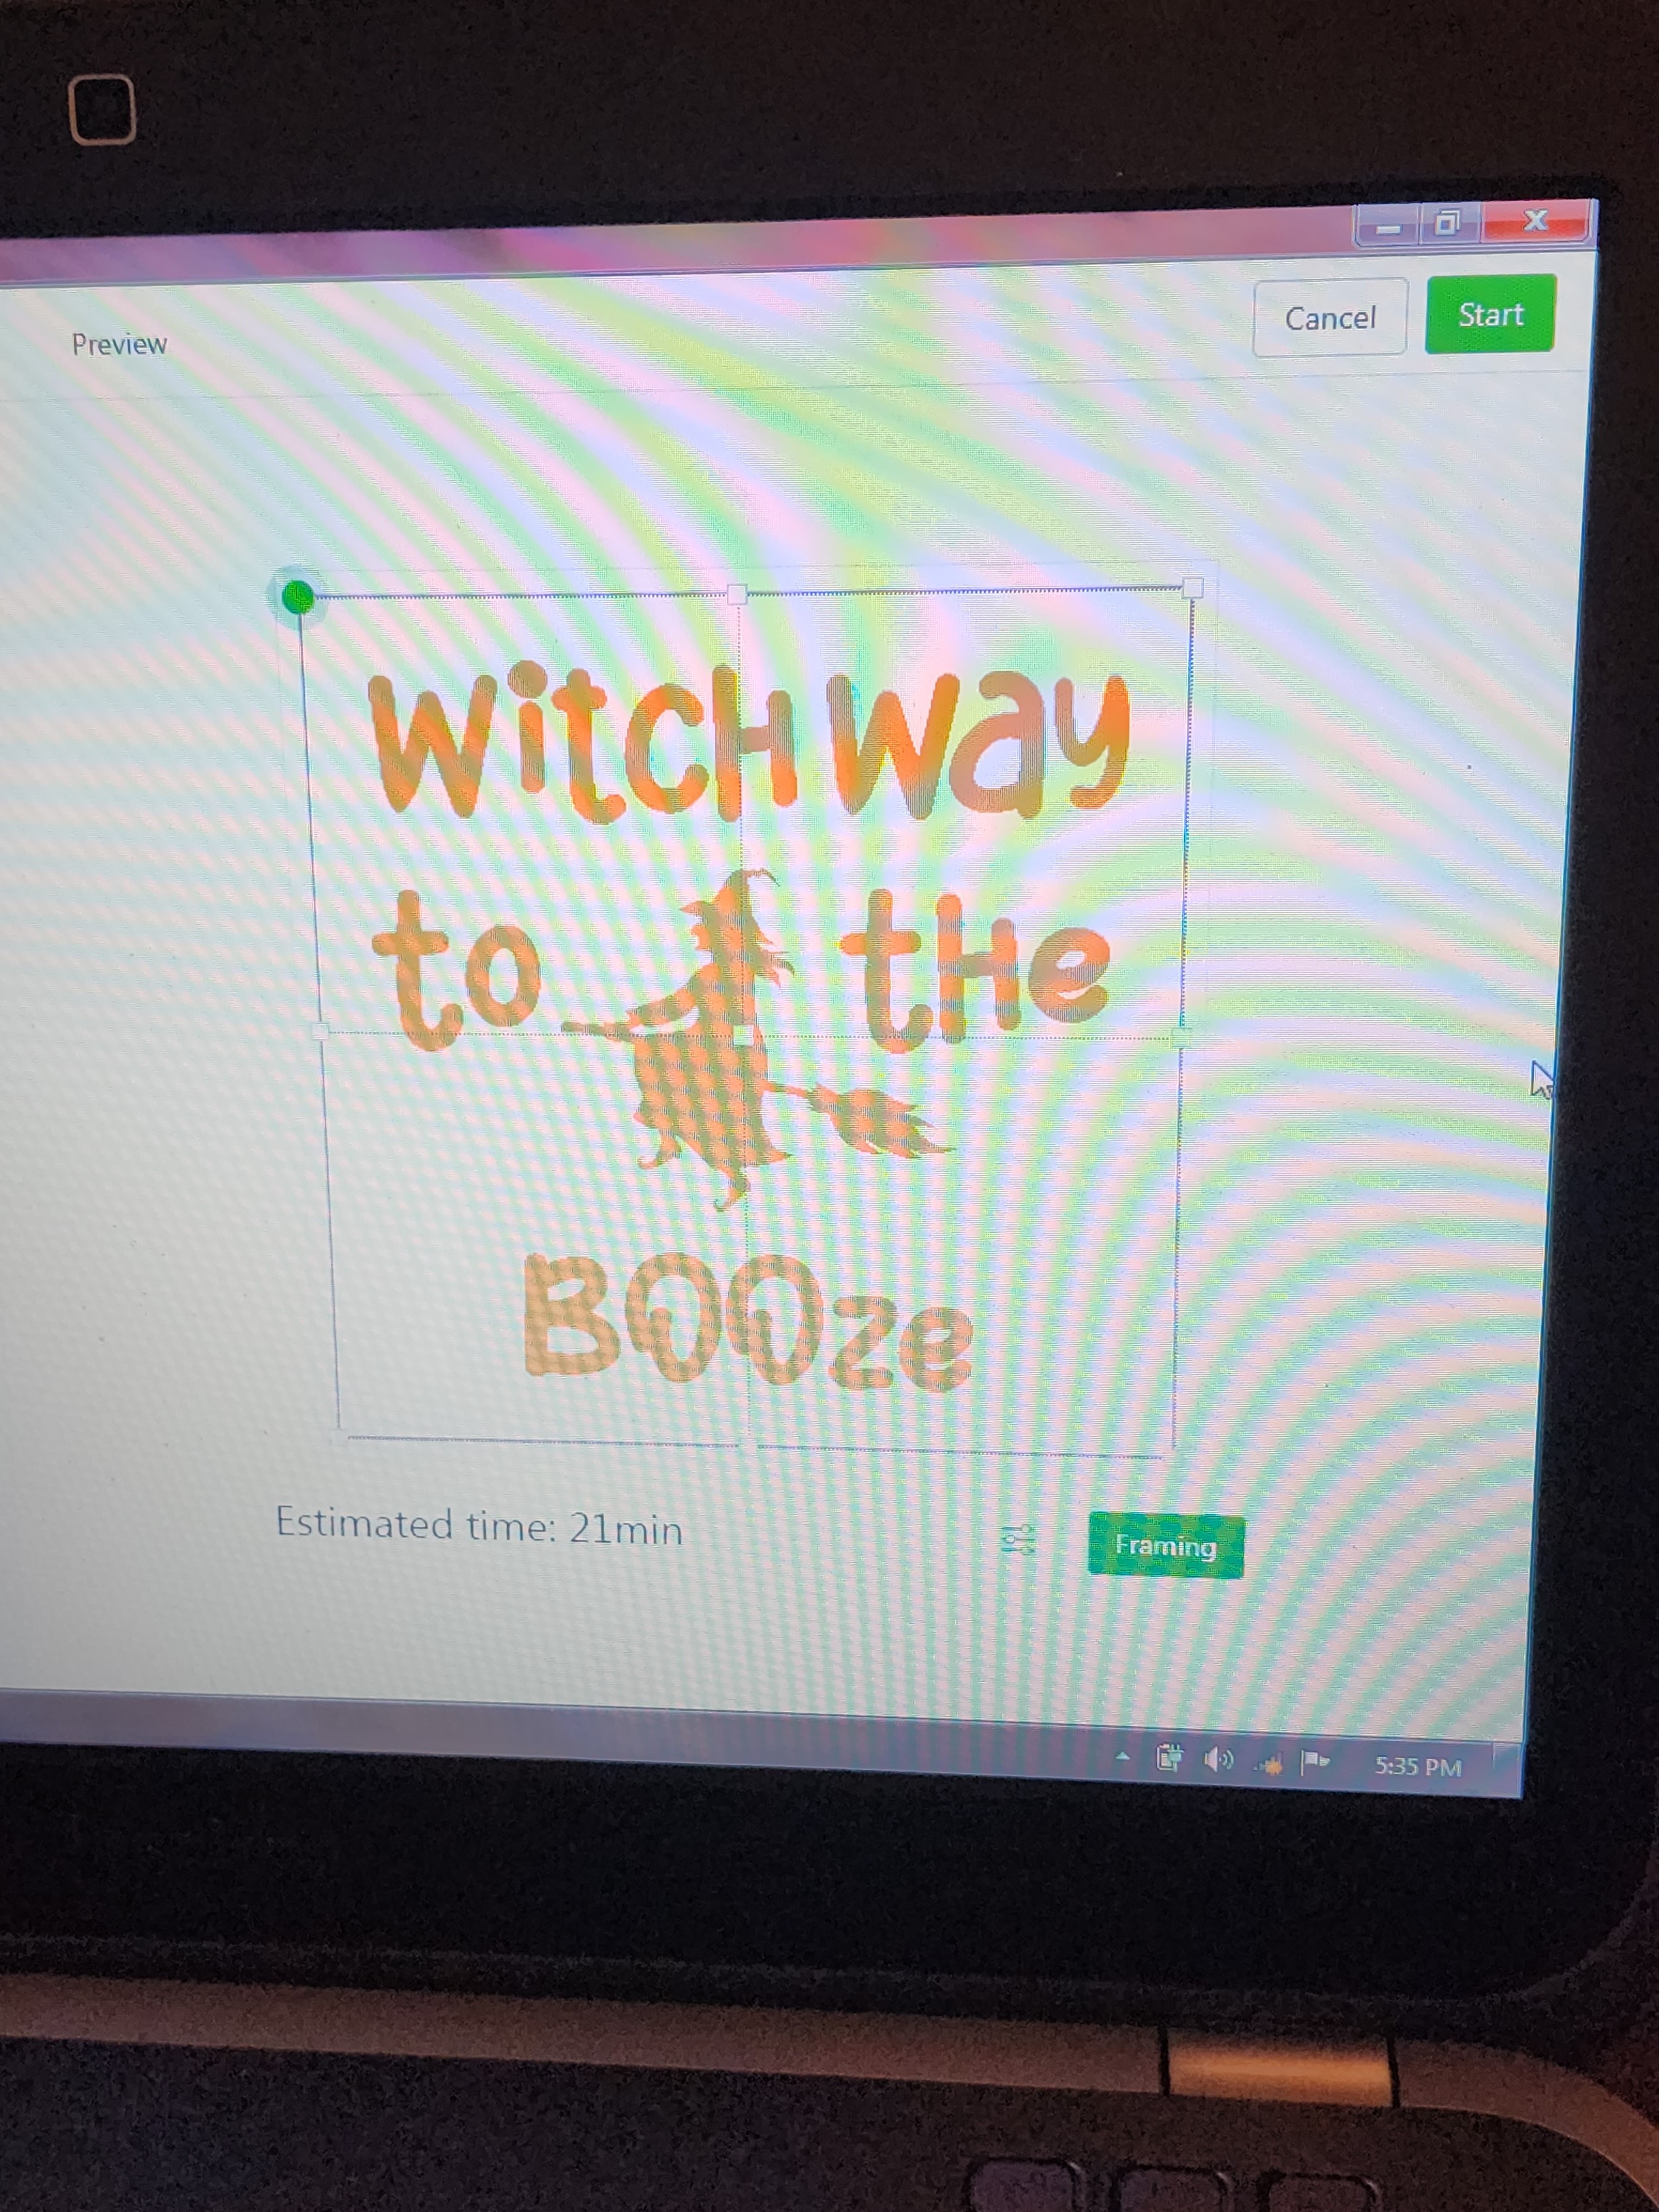
Load File
Open file in XCS. The graphic was set a 80% power, 60mm/s speed 1 pass. The square was set to cut at 100% power, 3mm/s 1 pass
Step3
Framing
Next I framed the project. When just cutting from a piece of wood I like to frame in the upper left hand corner.
If I need to center something on an object that is already cut out, I usually frame in the middle.
Step4
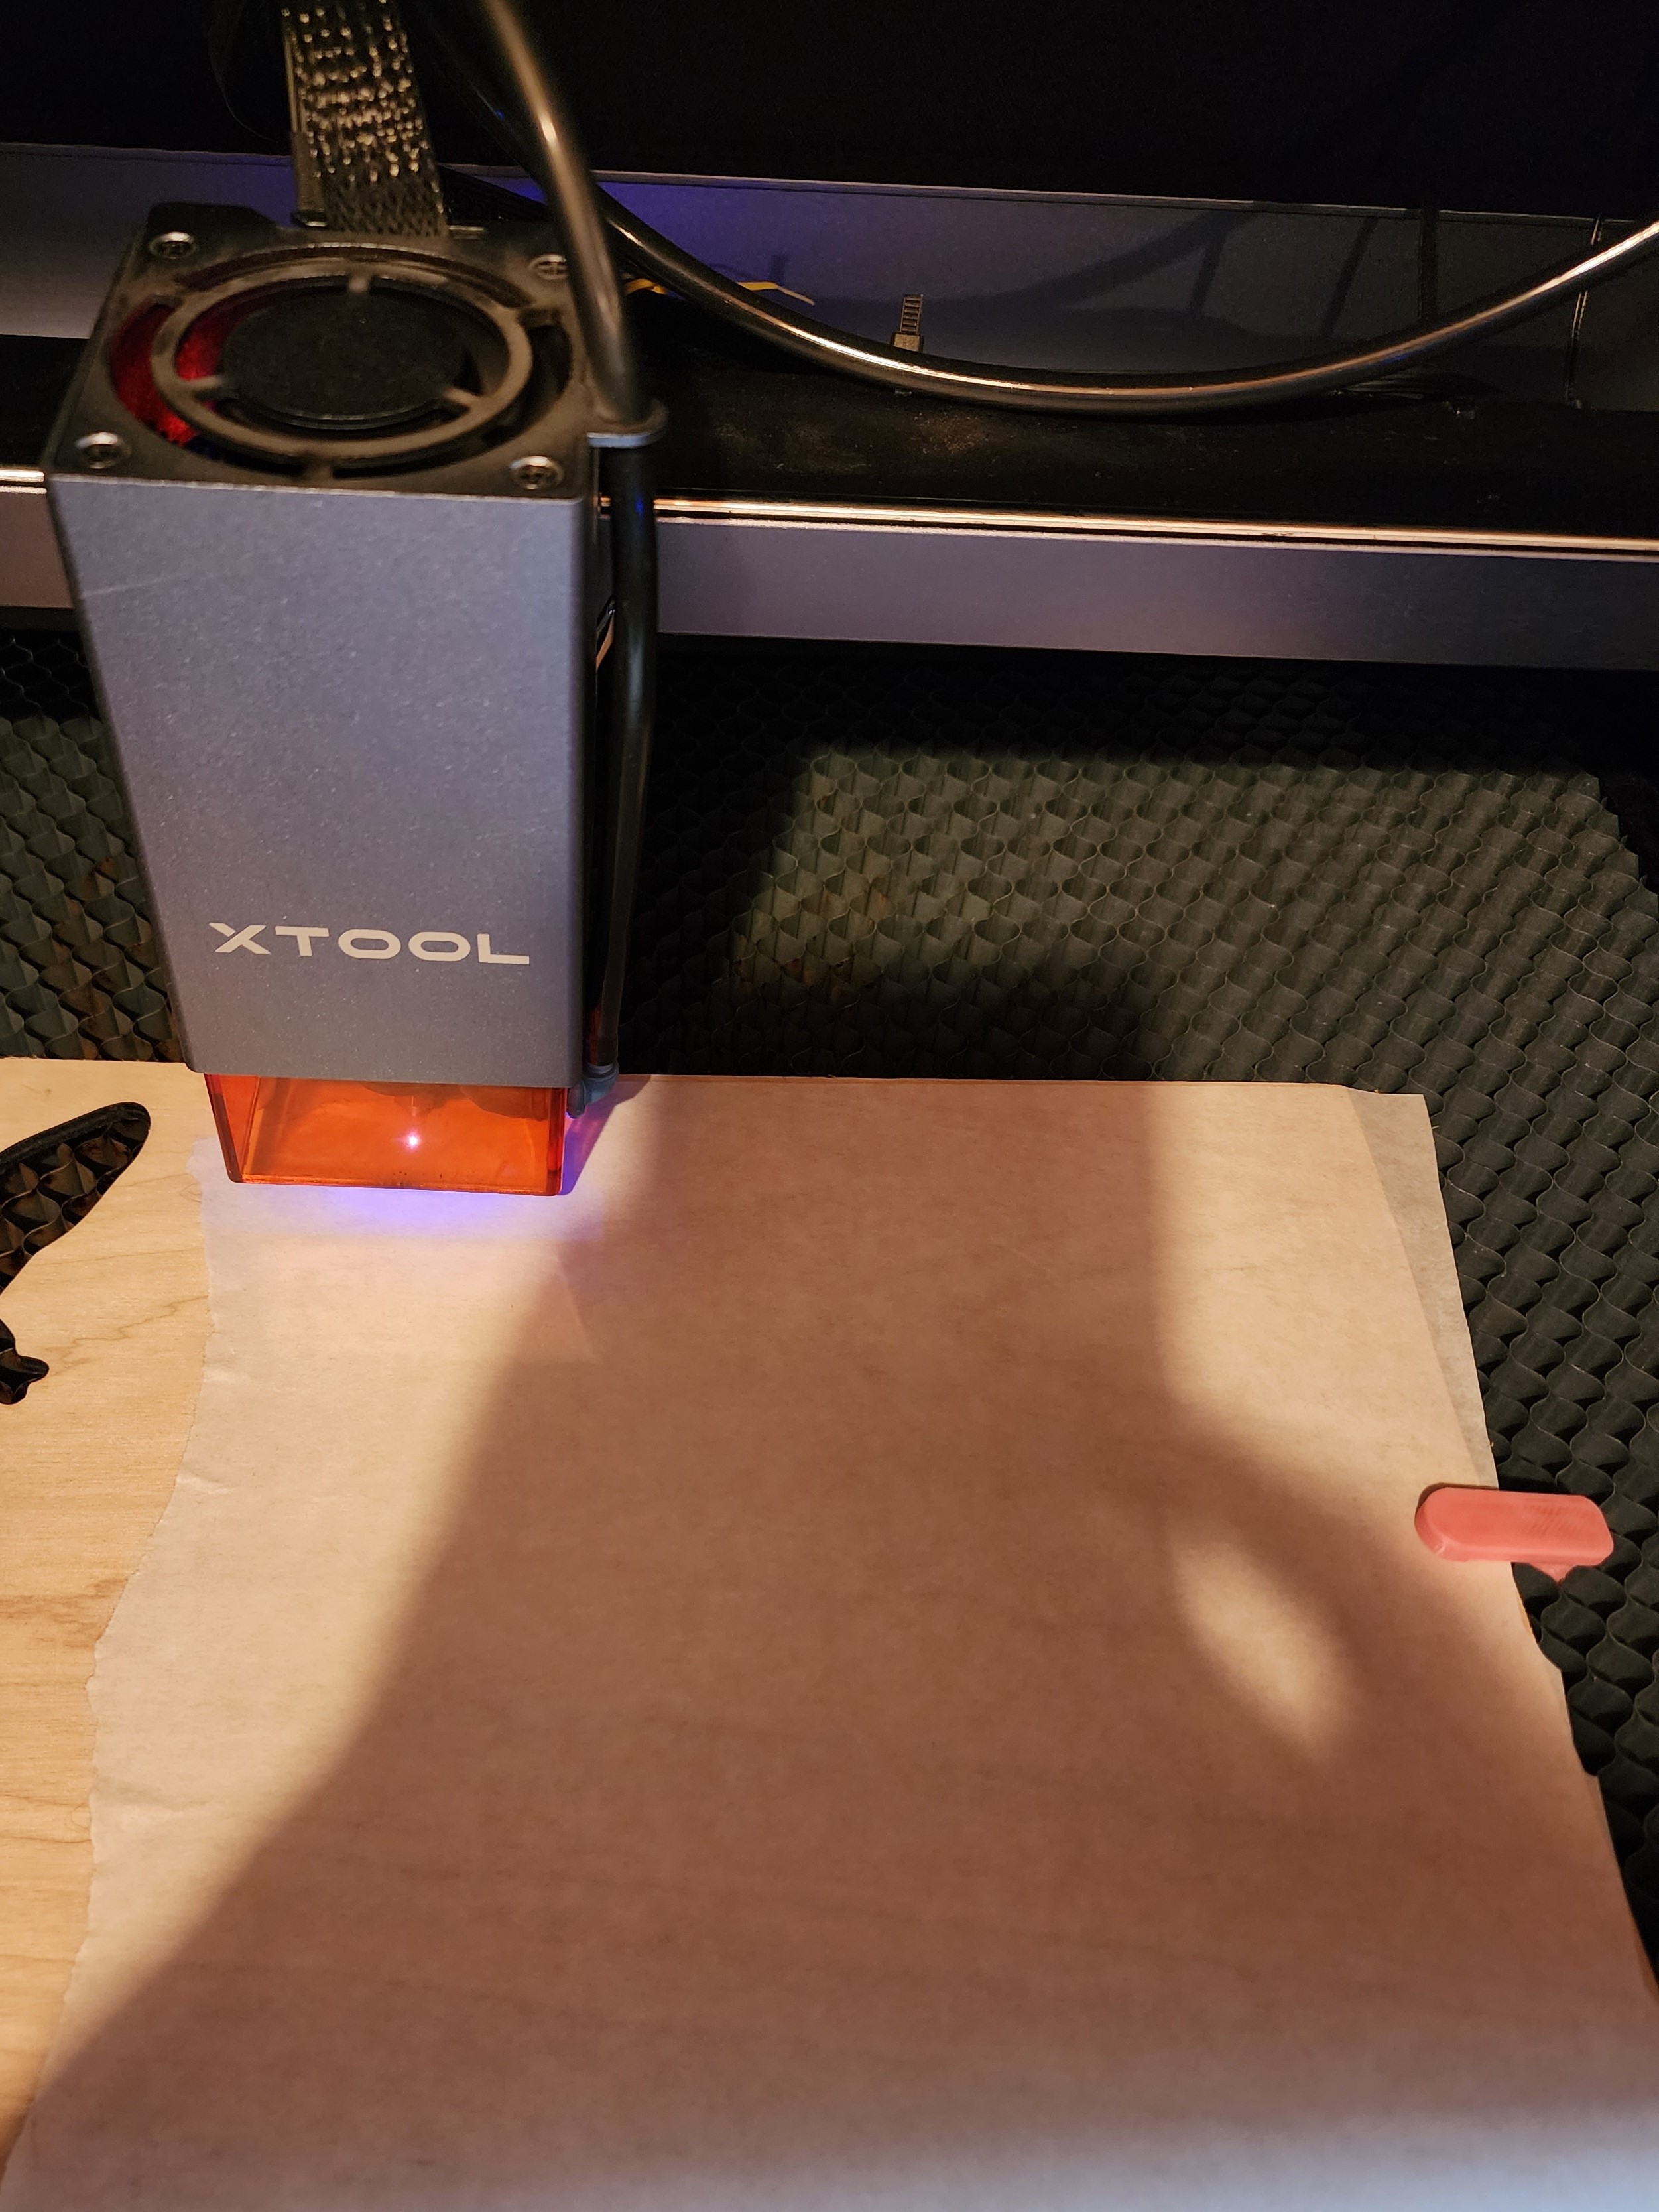
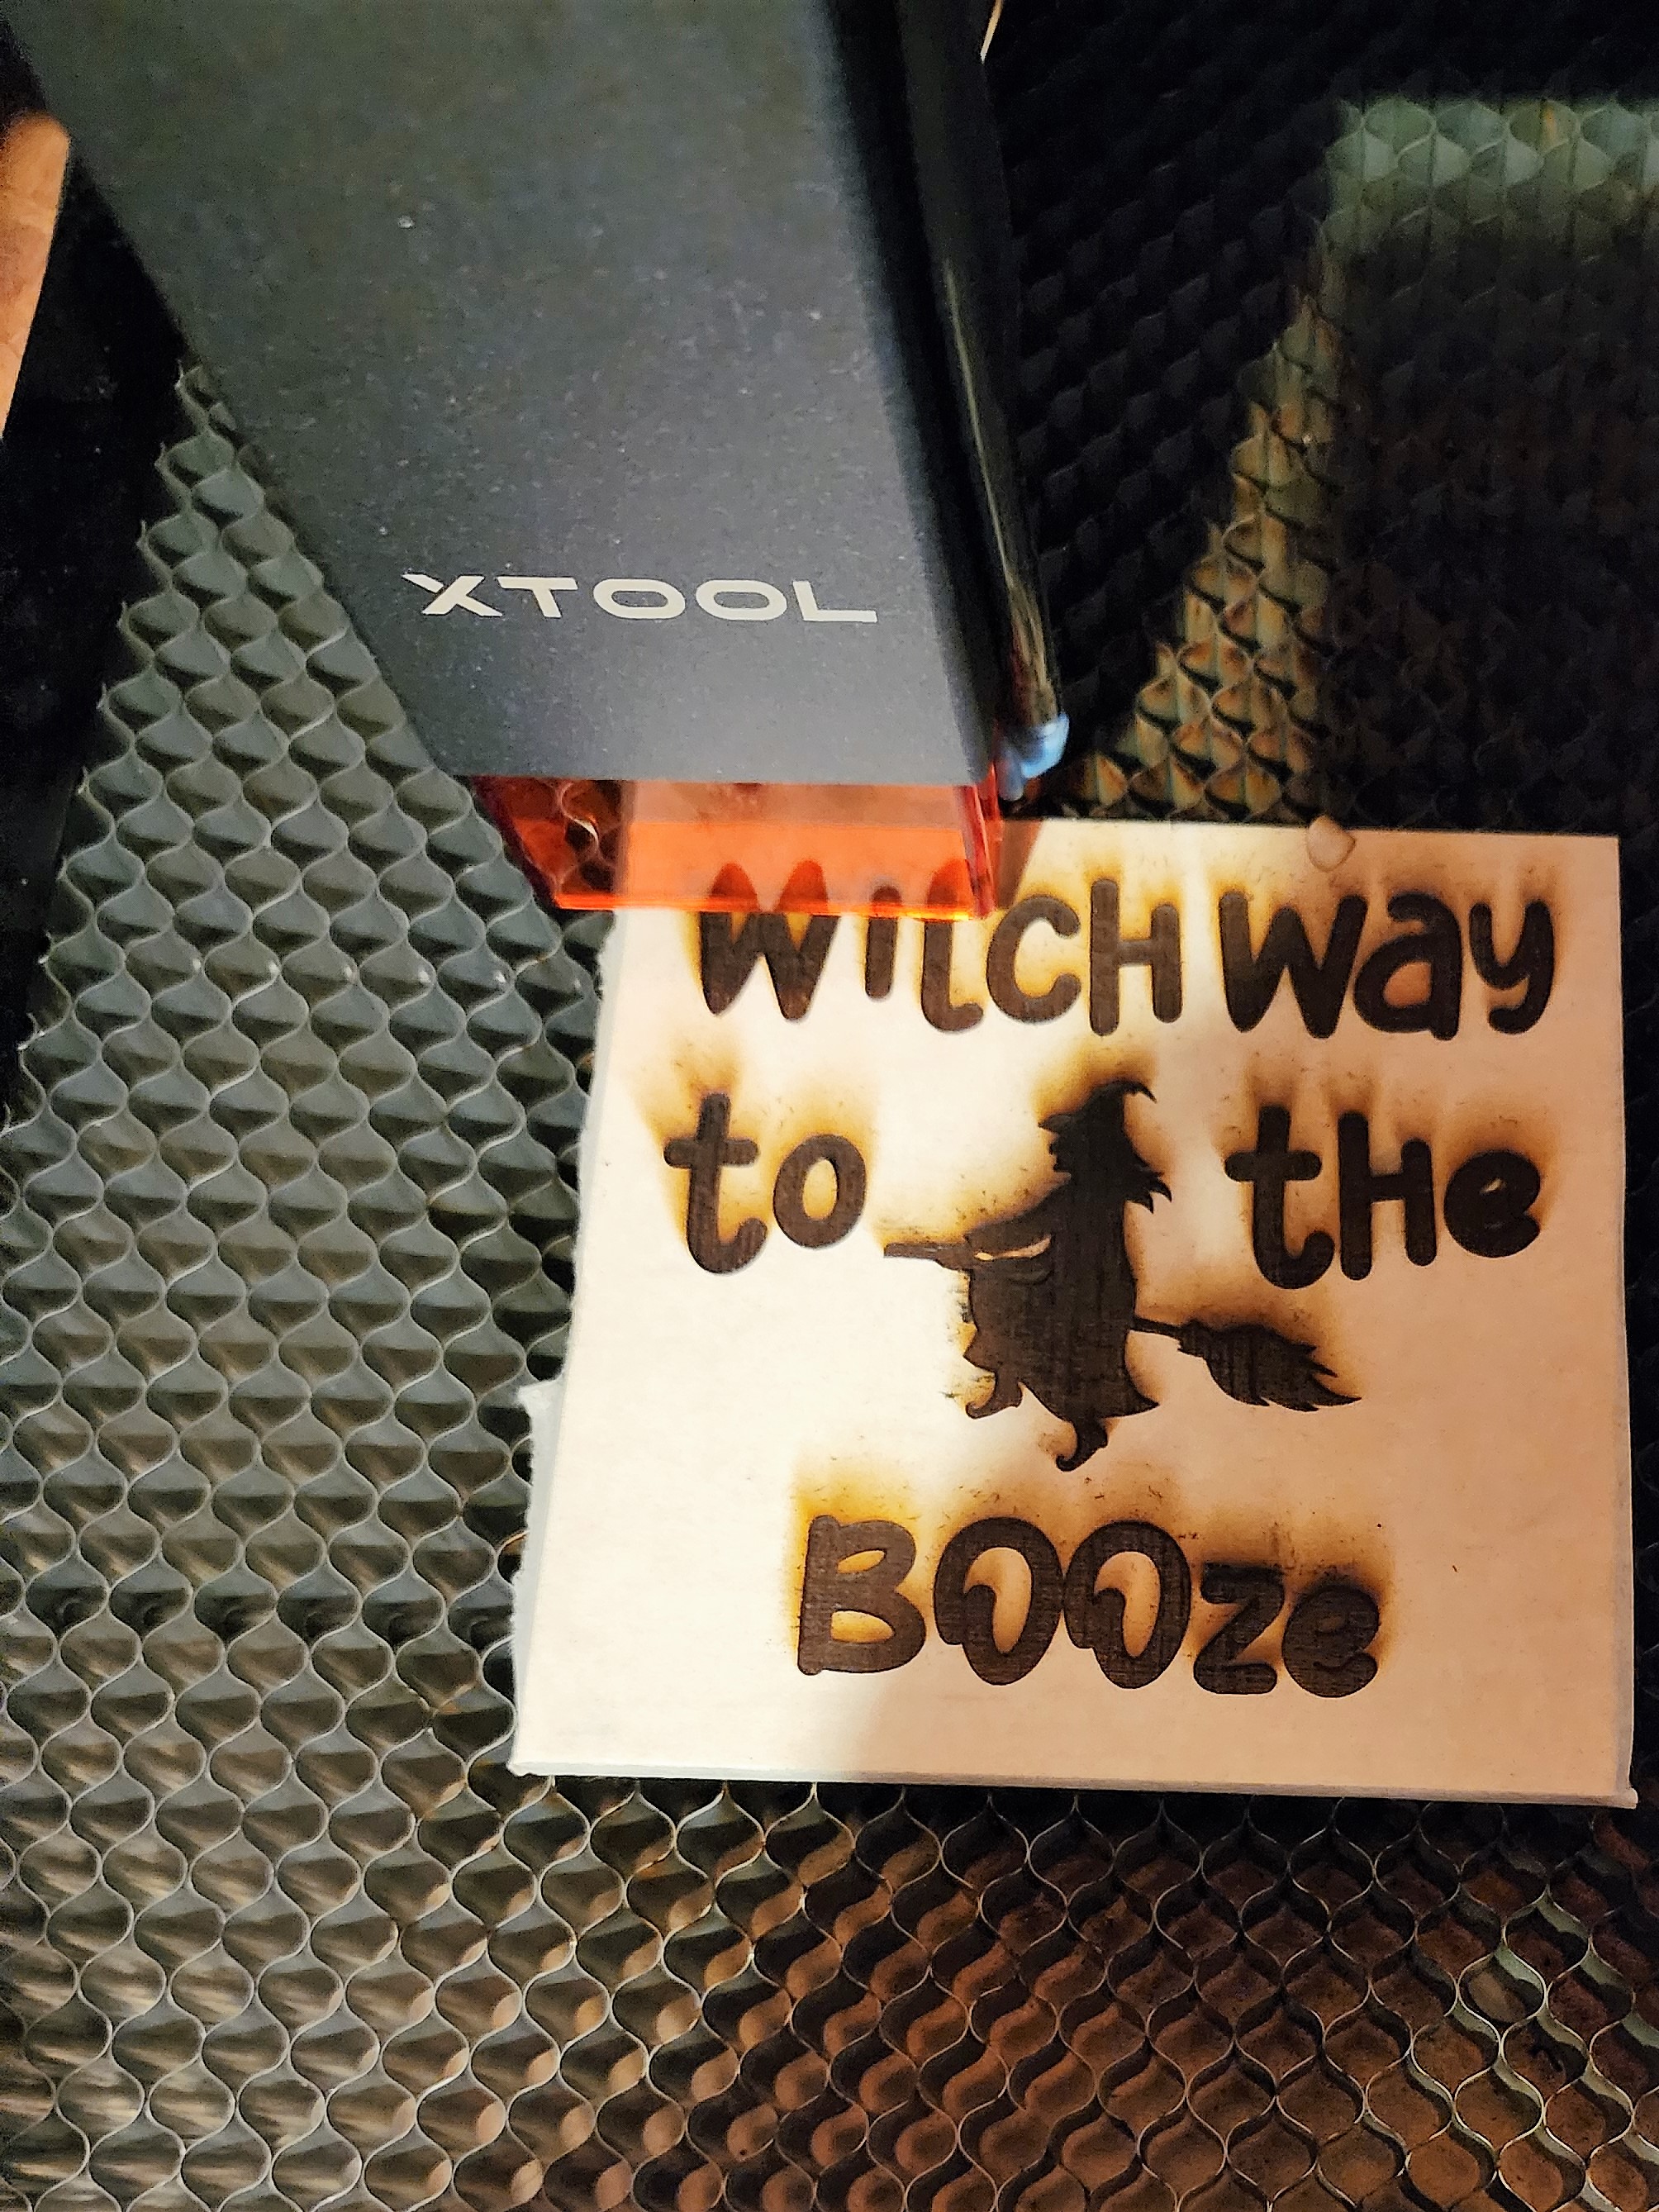
Remove Item from Machine
Once Item is completed I remove it from the machine and remove all the masking paper. In this picture you can see all the char on the masking paper. I don't use air assist when I engrave, and only turn it on when the laser starts to cut.
Step5
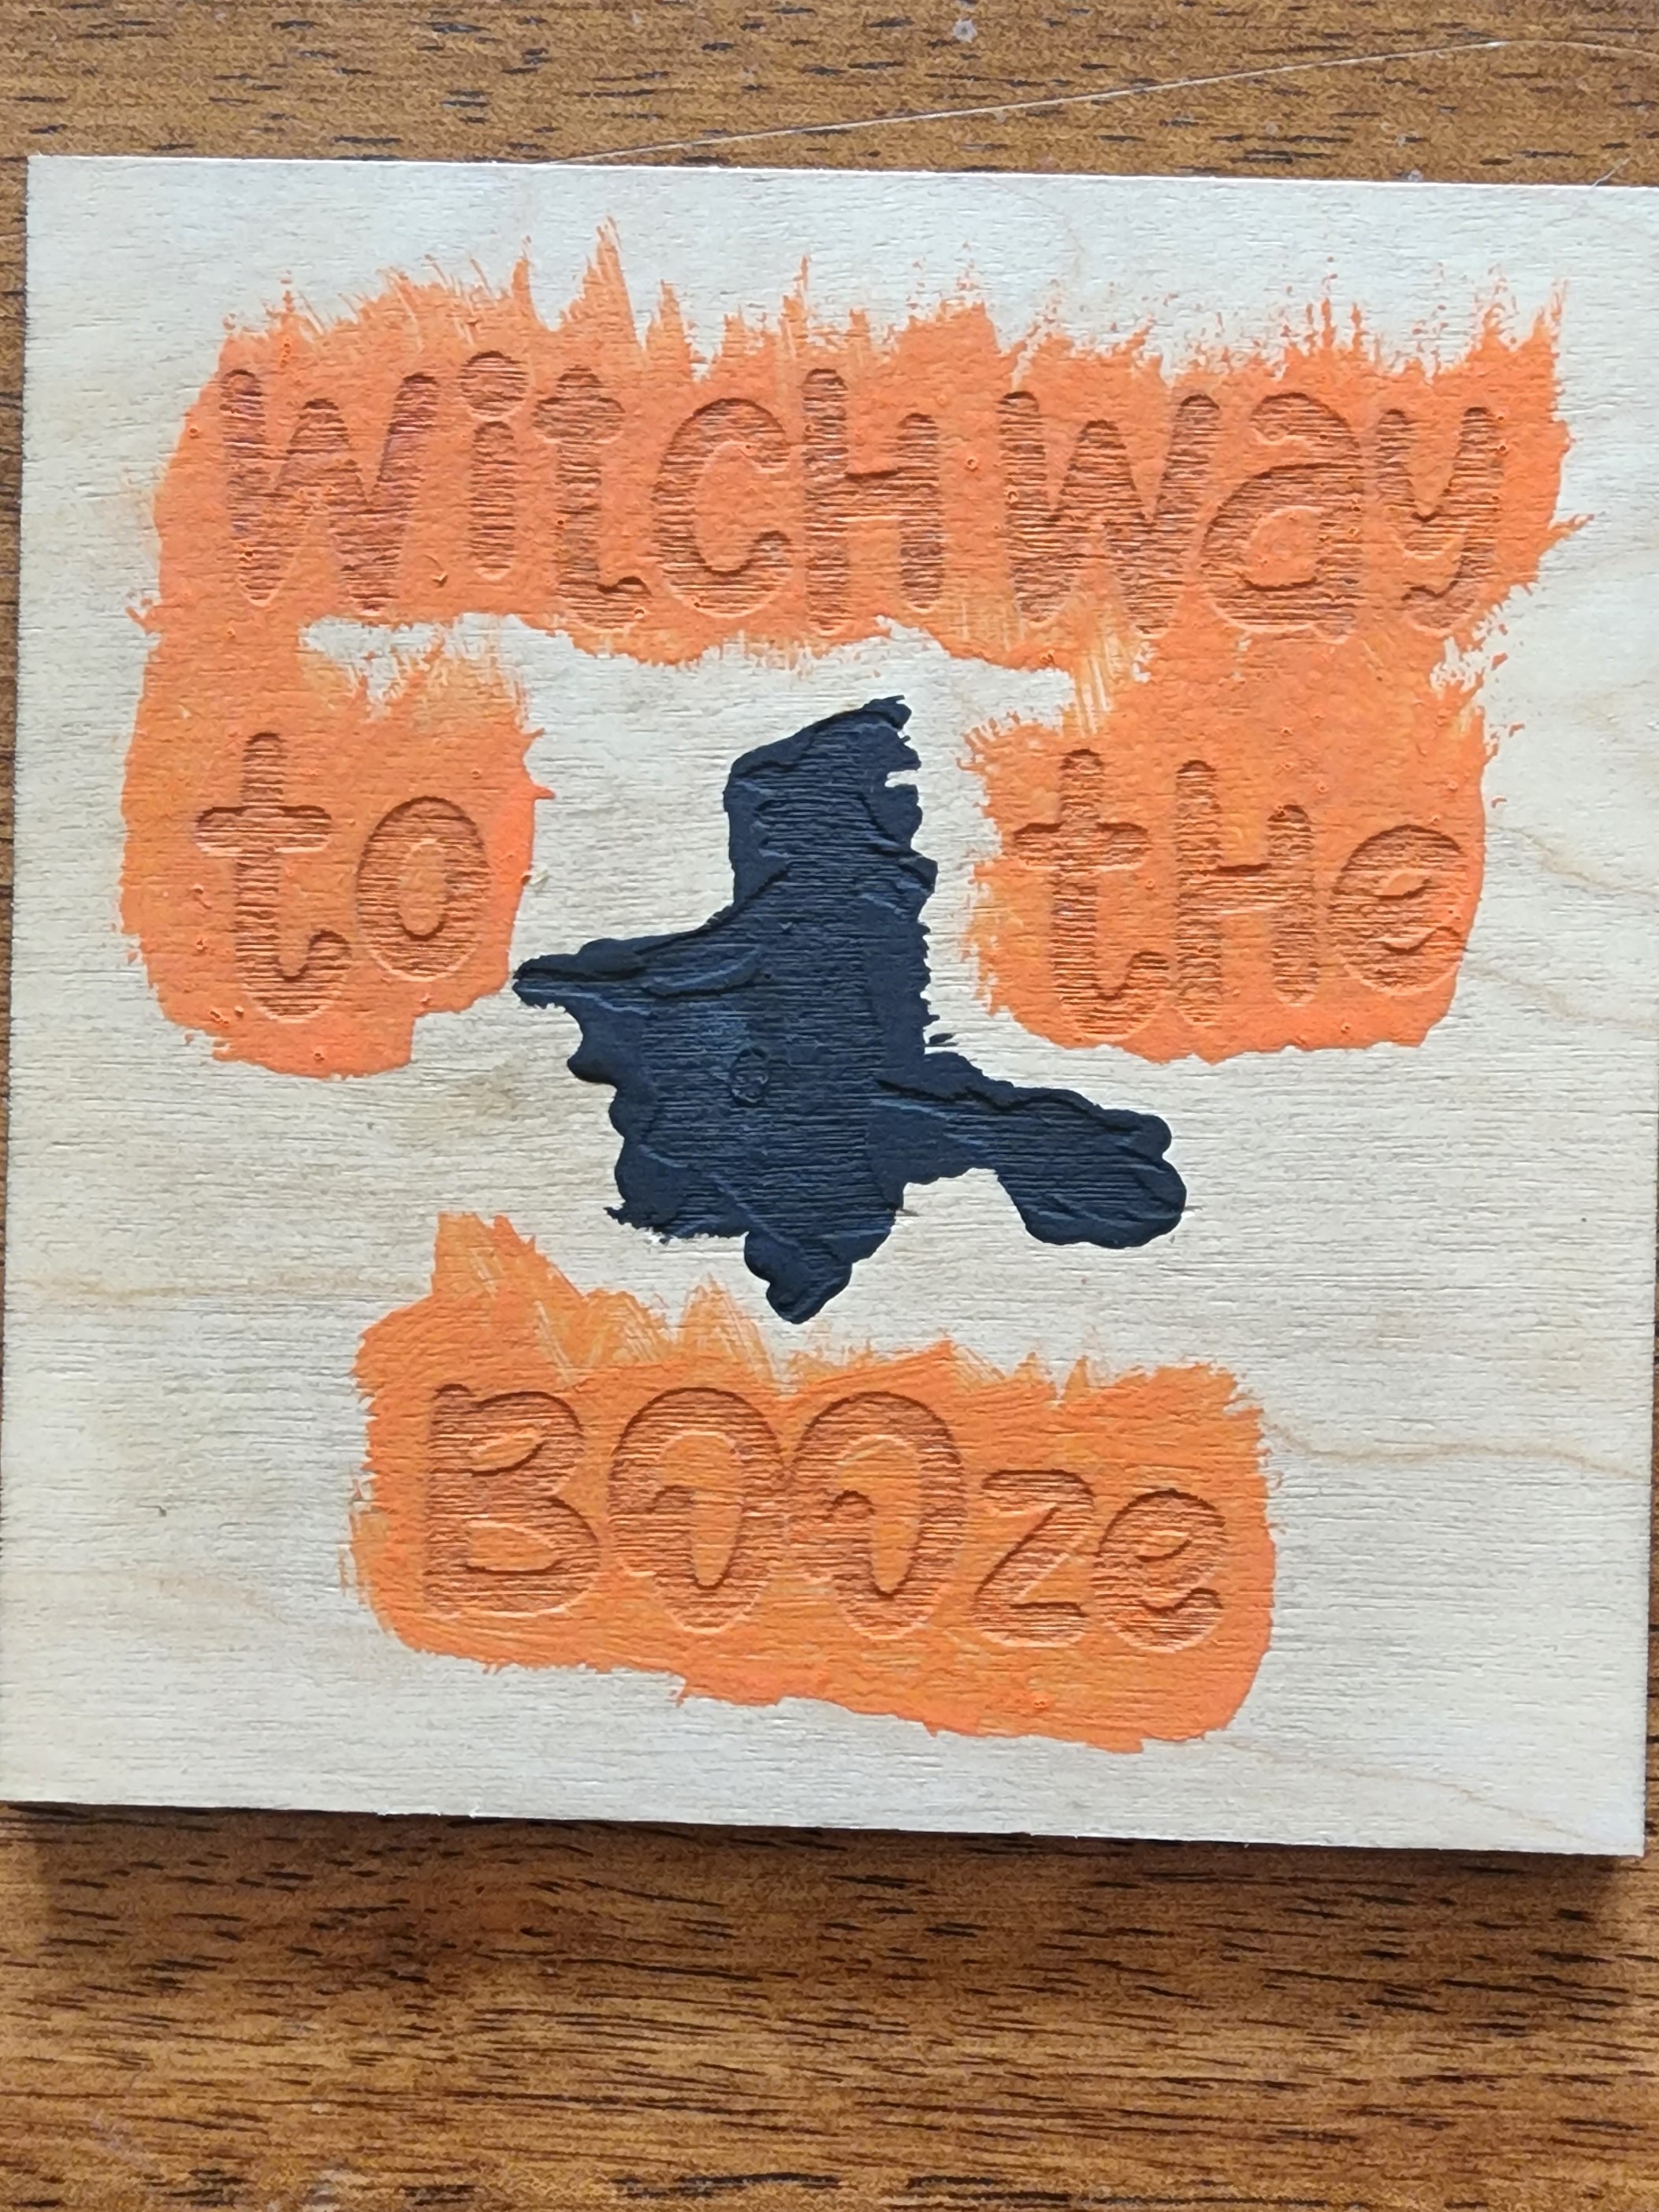
Paint
I used orange and black acrylic paint to fill the engrave. Don't worry about going out of the lines, the next step will take care of it. I did use a heat gun at this step to speed up the drying time of the paint because I am impatient. This step is optional and you can let it dry naturally. Just make sure it is not tacky at all to the touch when you go on to the next step.
Step6
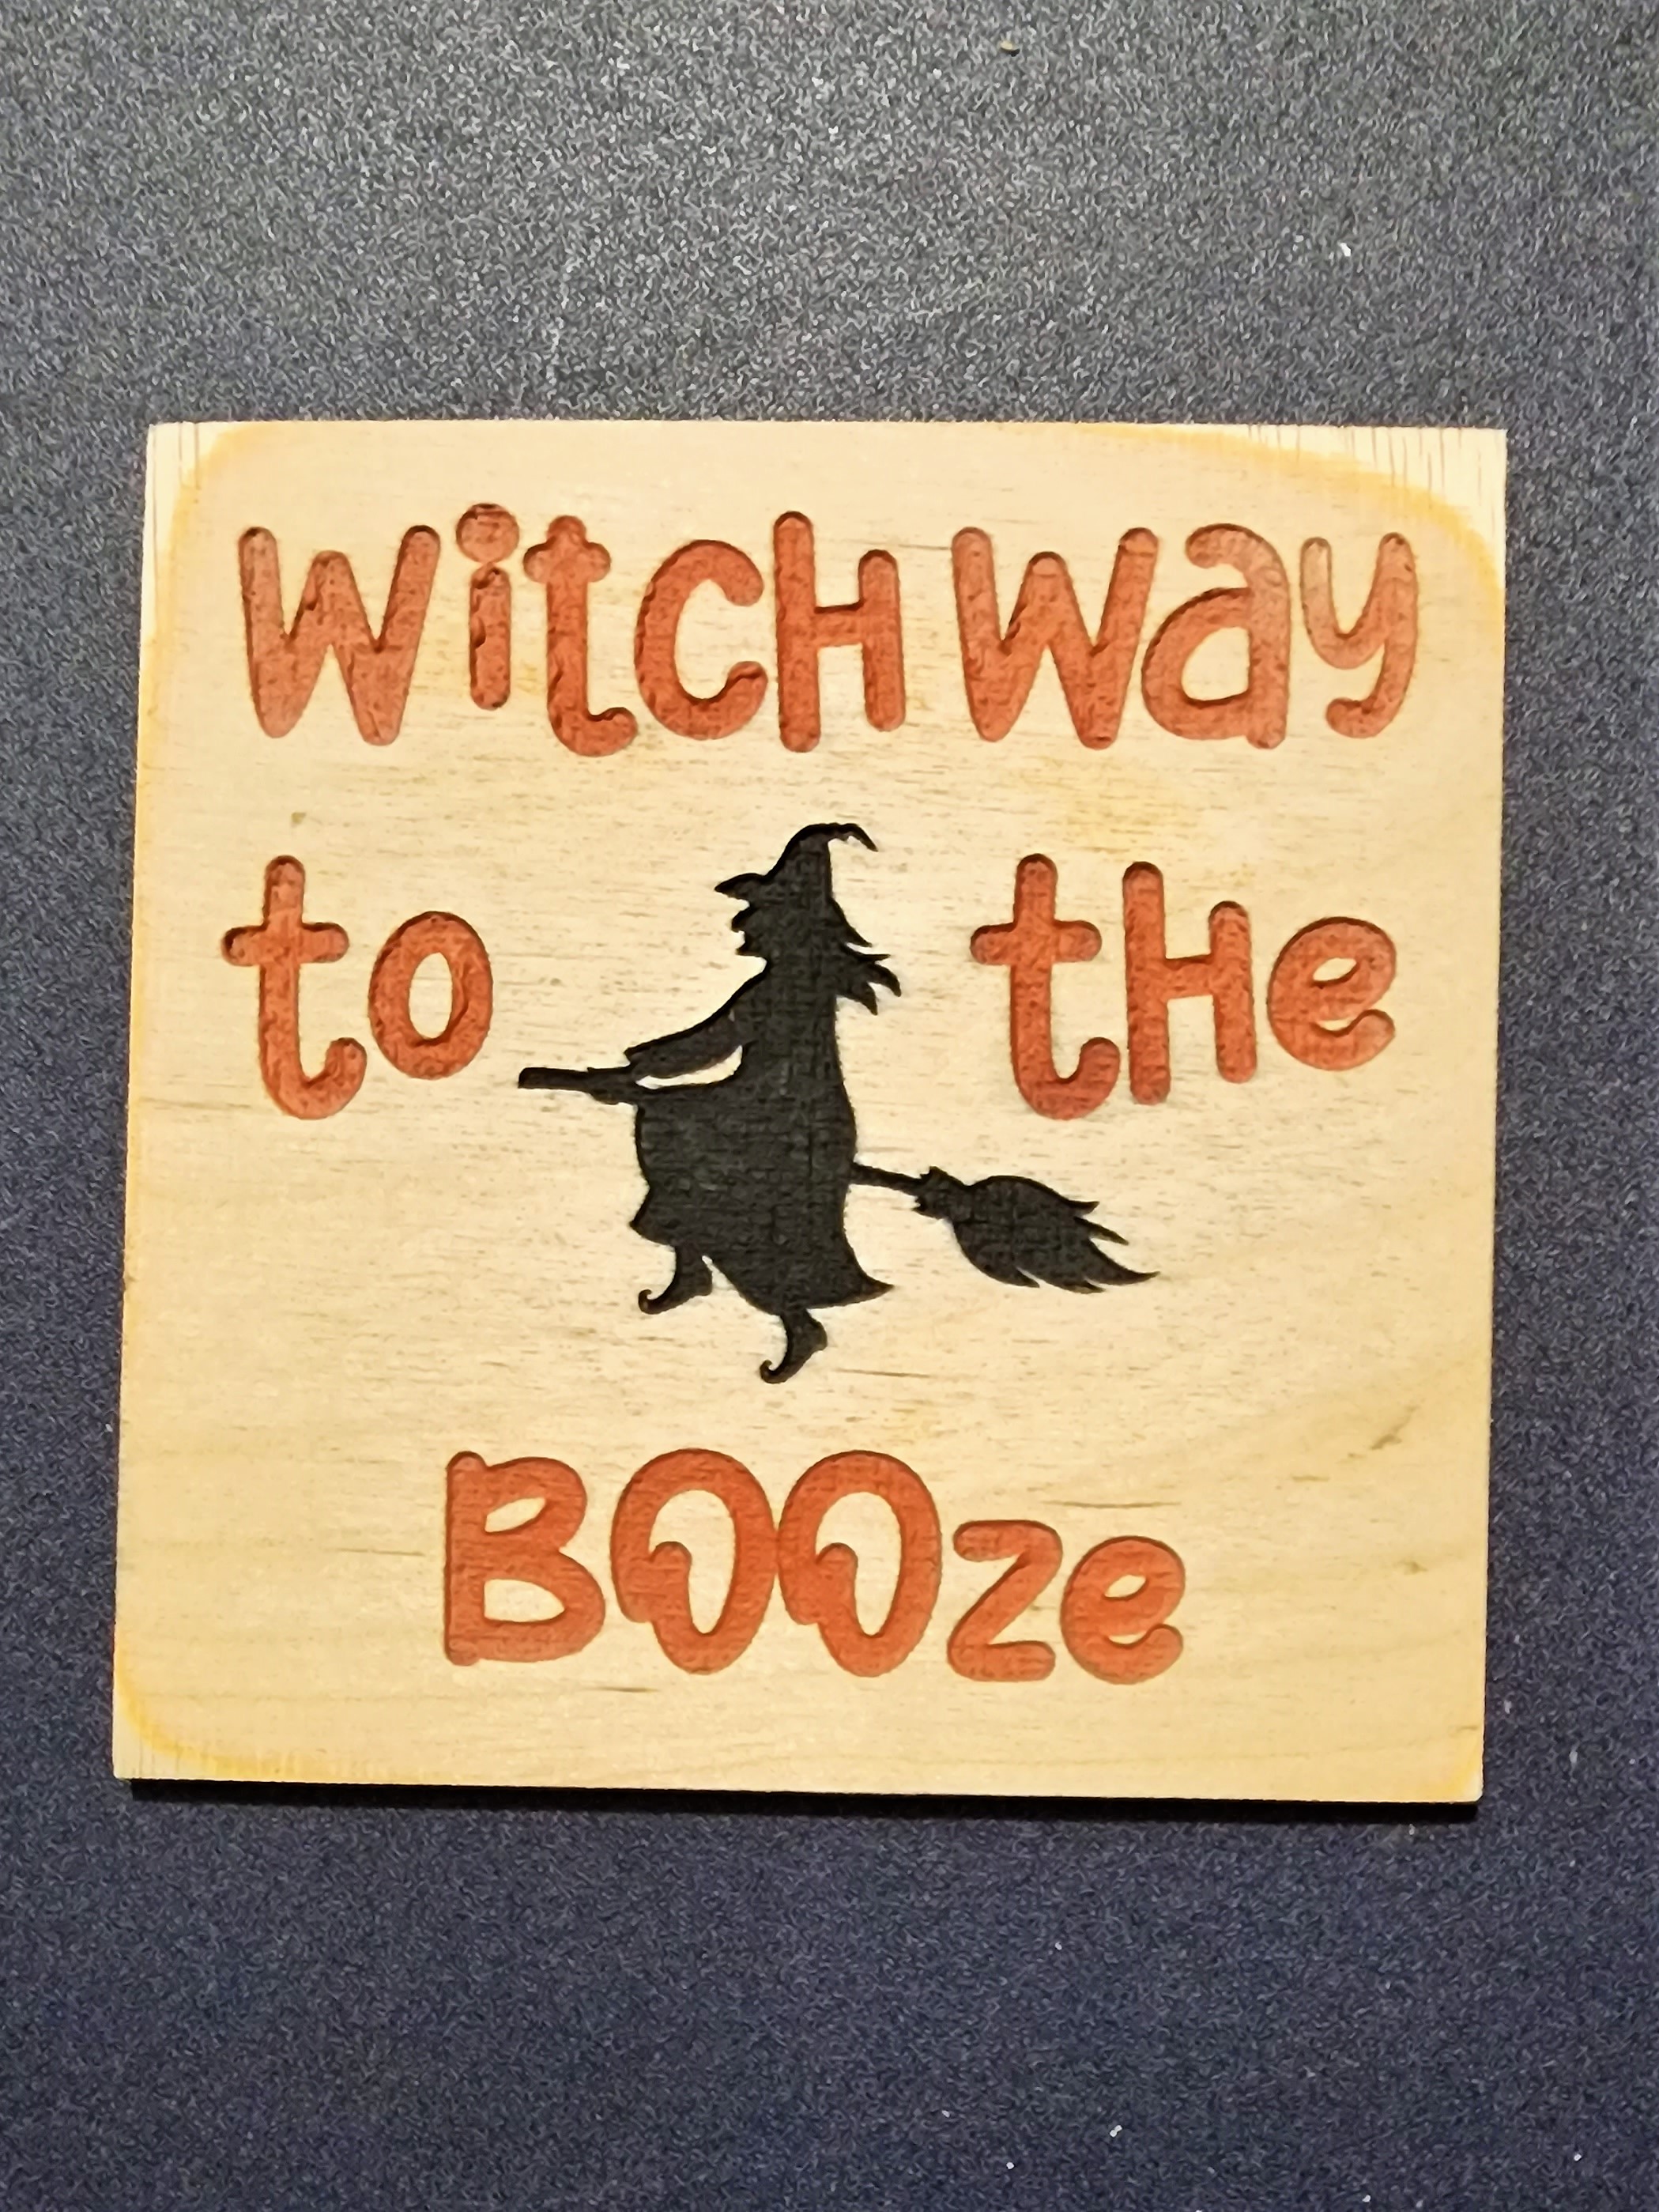
Sand
I purposely increased the settings on the engrave to get a nice deep engrave. This way, when I sand across the square, the sander is only removing the top layer and the paint fill in the engraving stays. If you don't get a deep engrave, you will remove the paint from the engrave as well. Not what you want. This is what it should look like after sanding. As you can see I got a little heavy handed on the top part, but that's ok because it will be covered by the frame. I did use an electric blower to remove all the saw dust, but you can use just a rag if you prefer.
Step7
Assembly
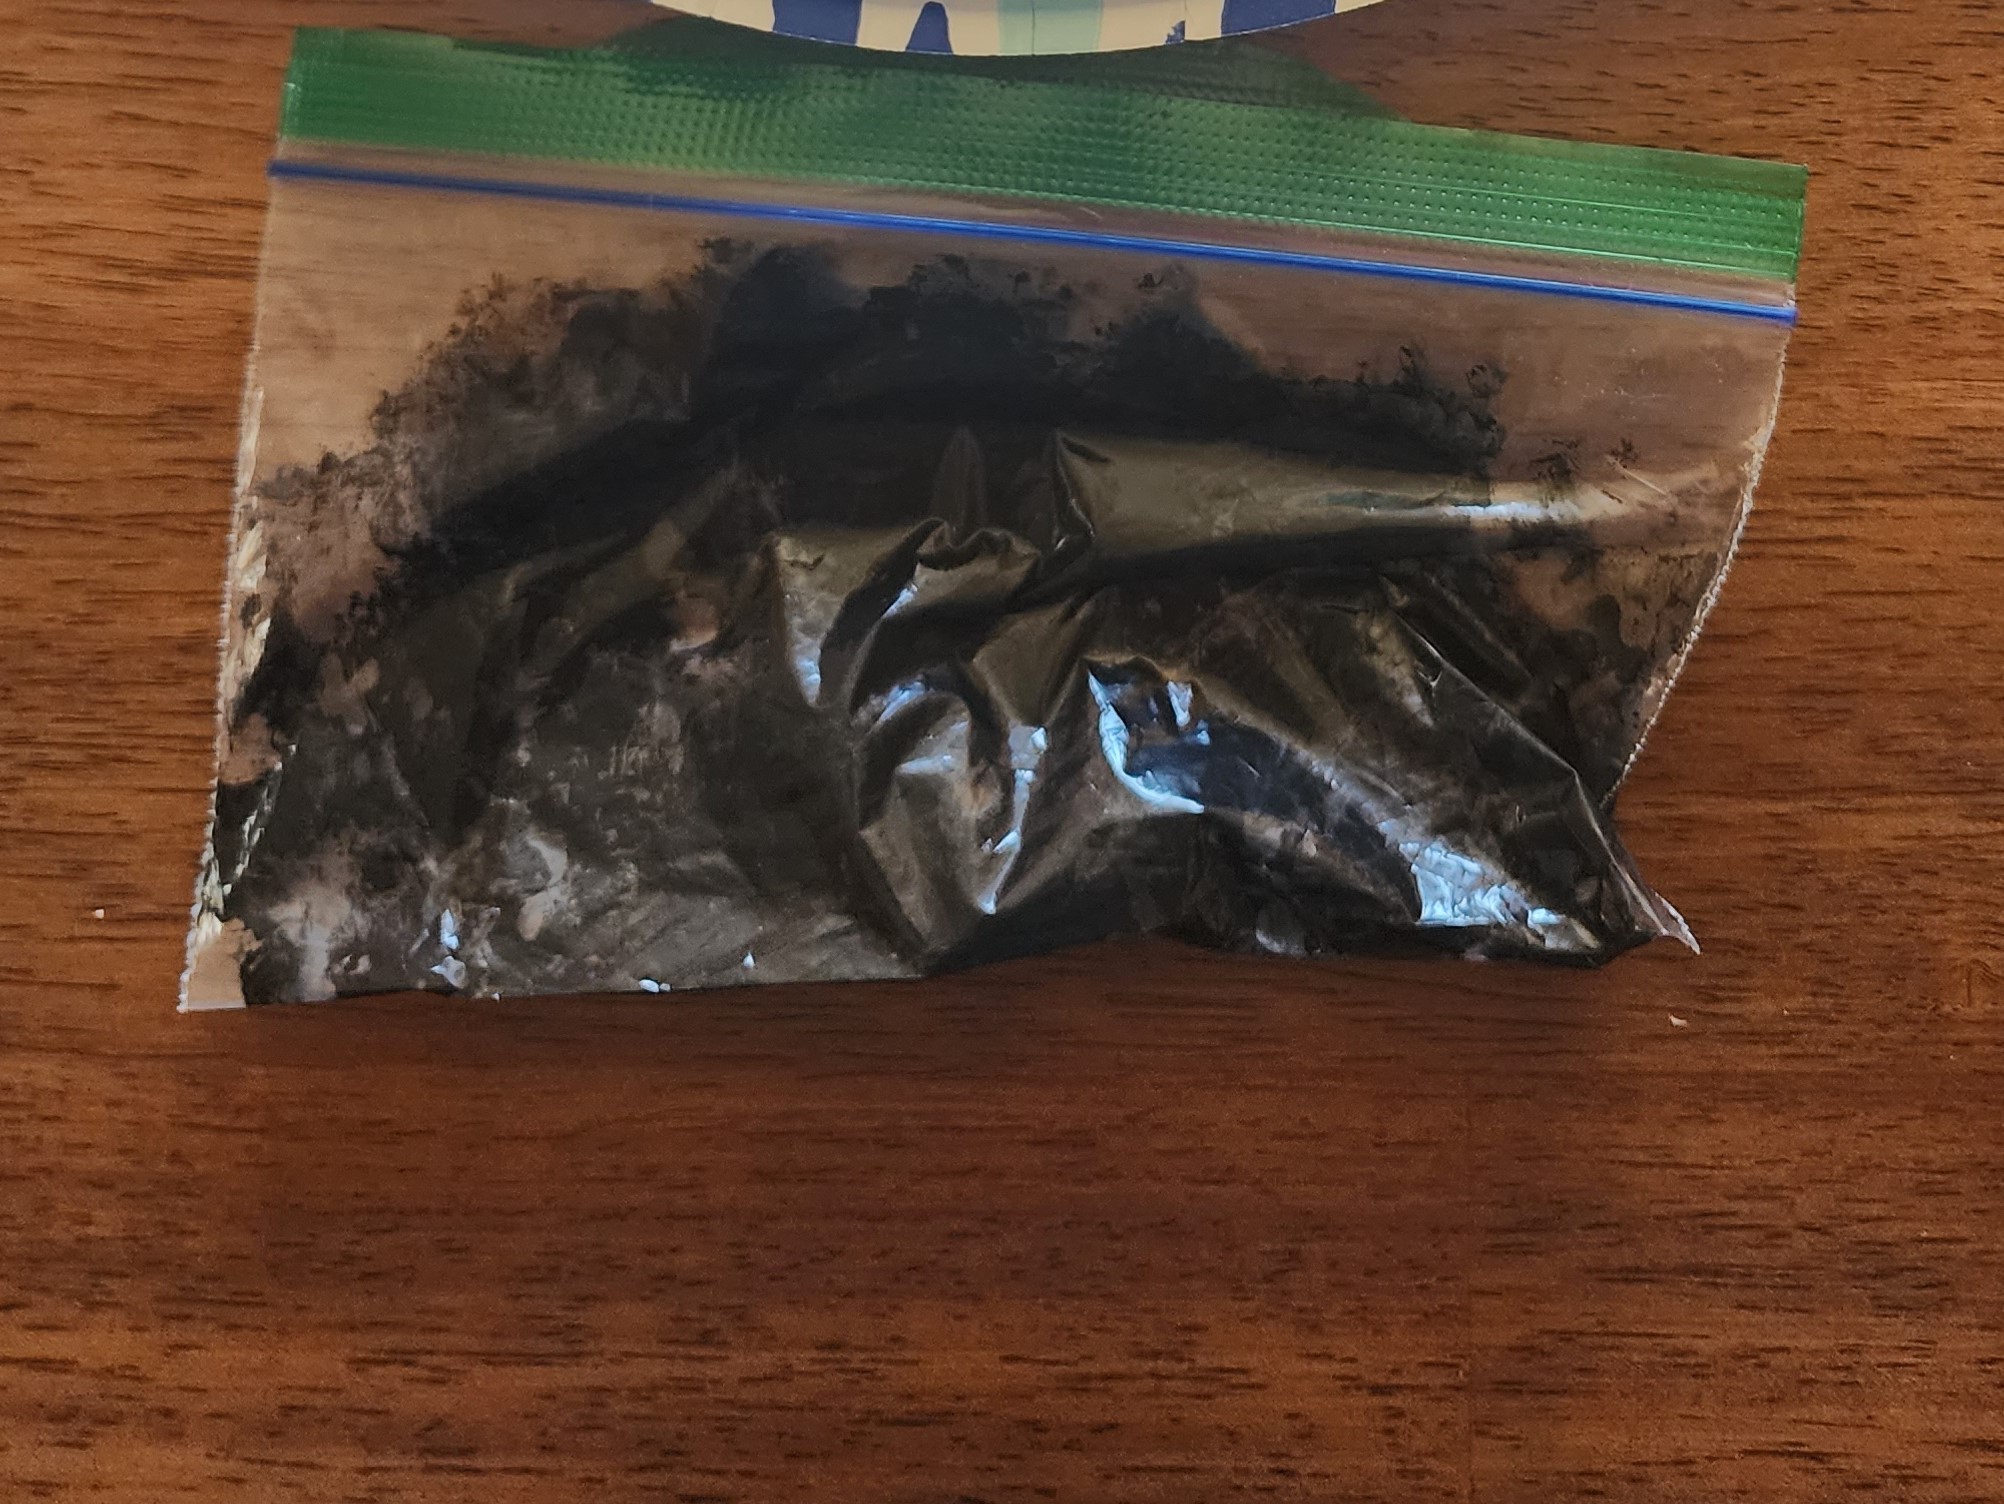
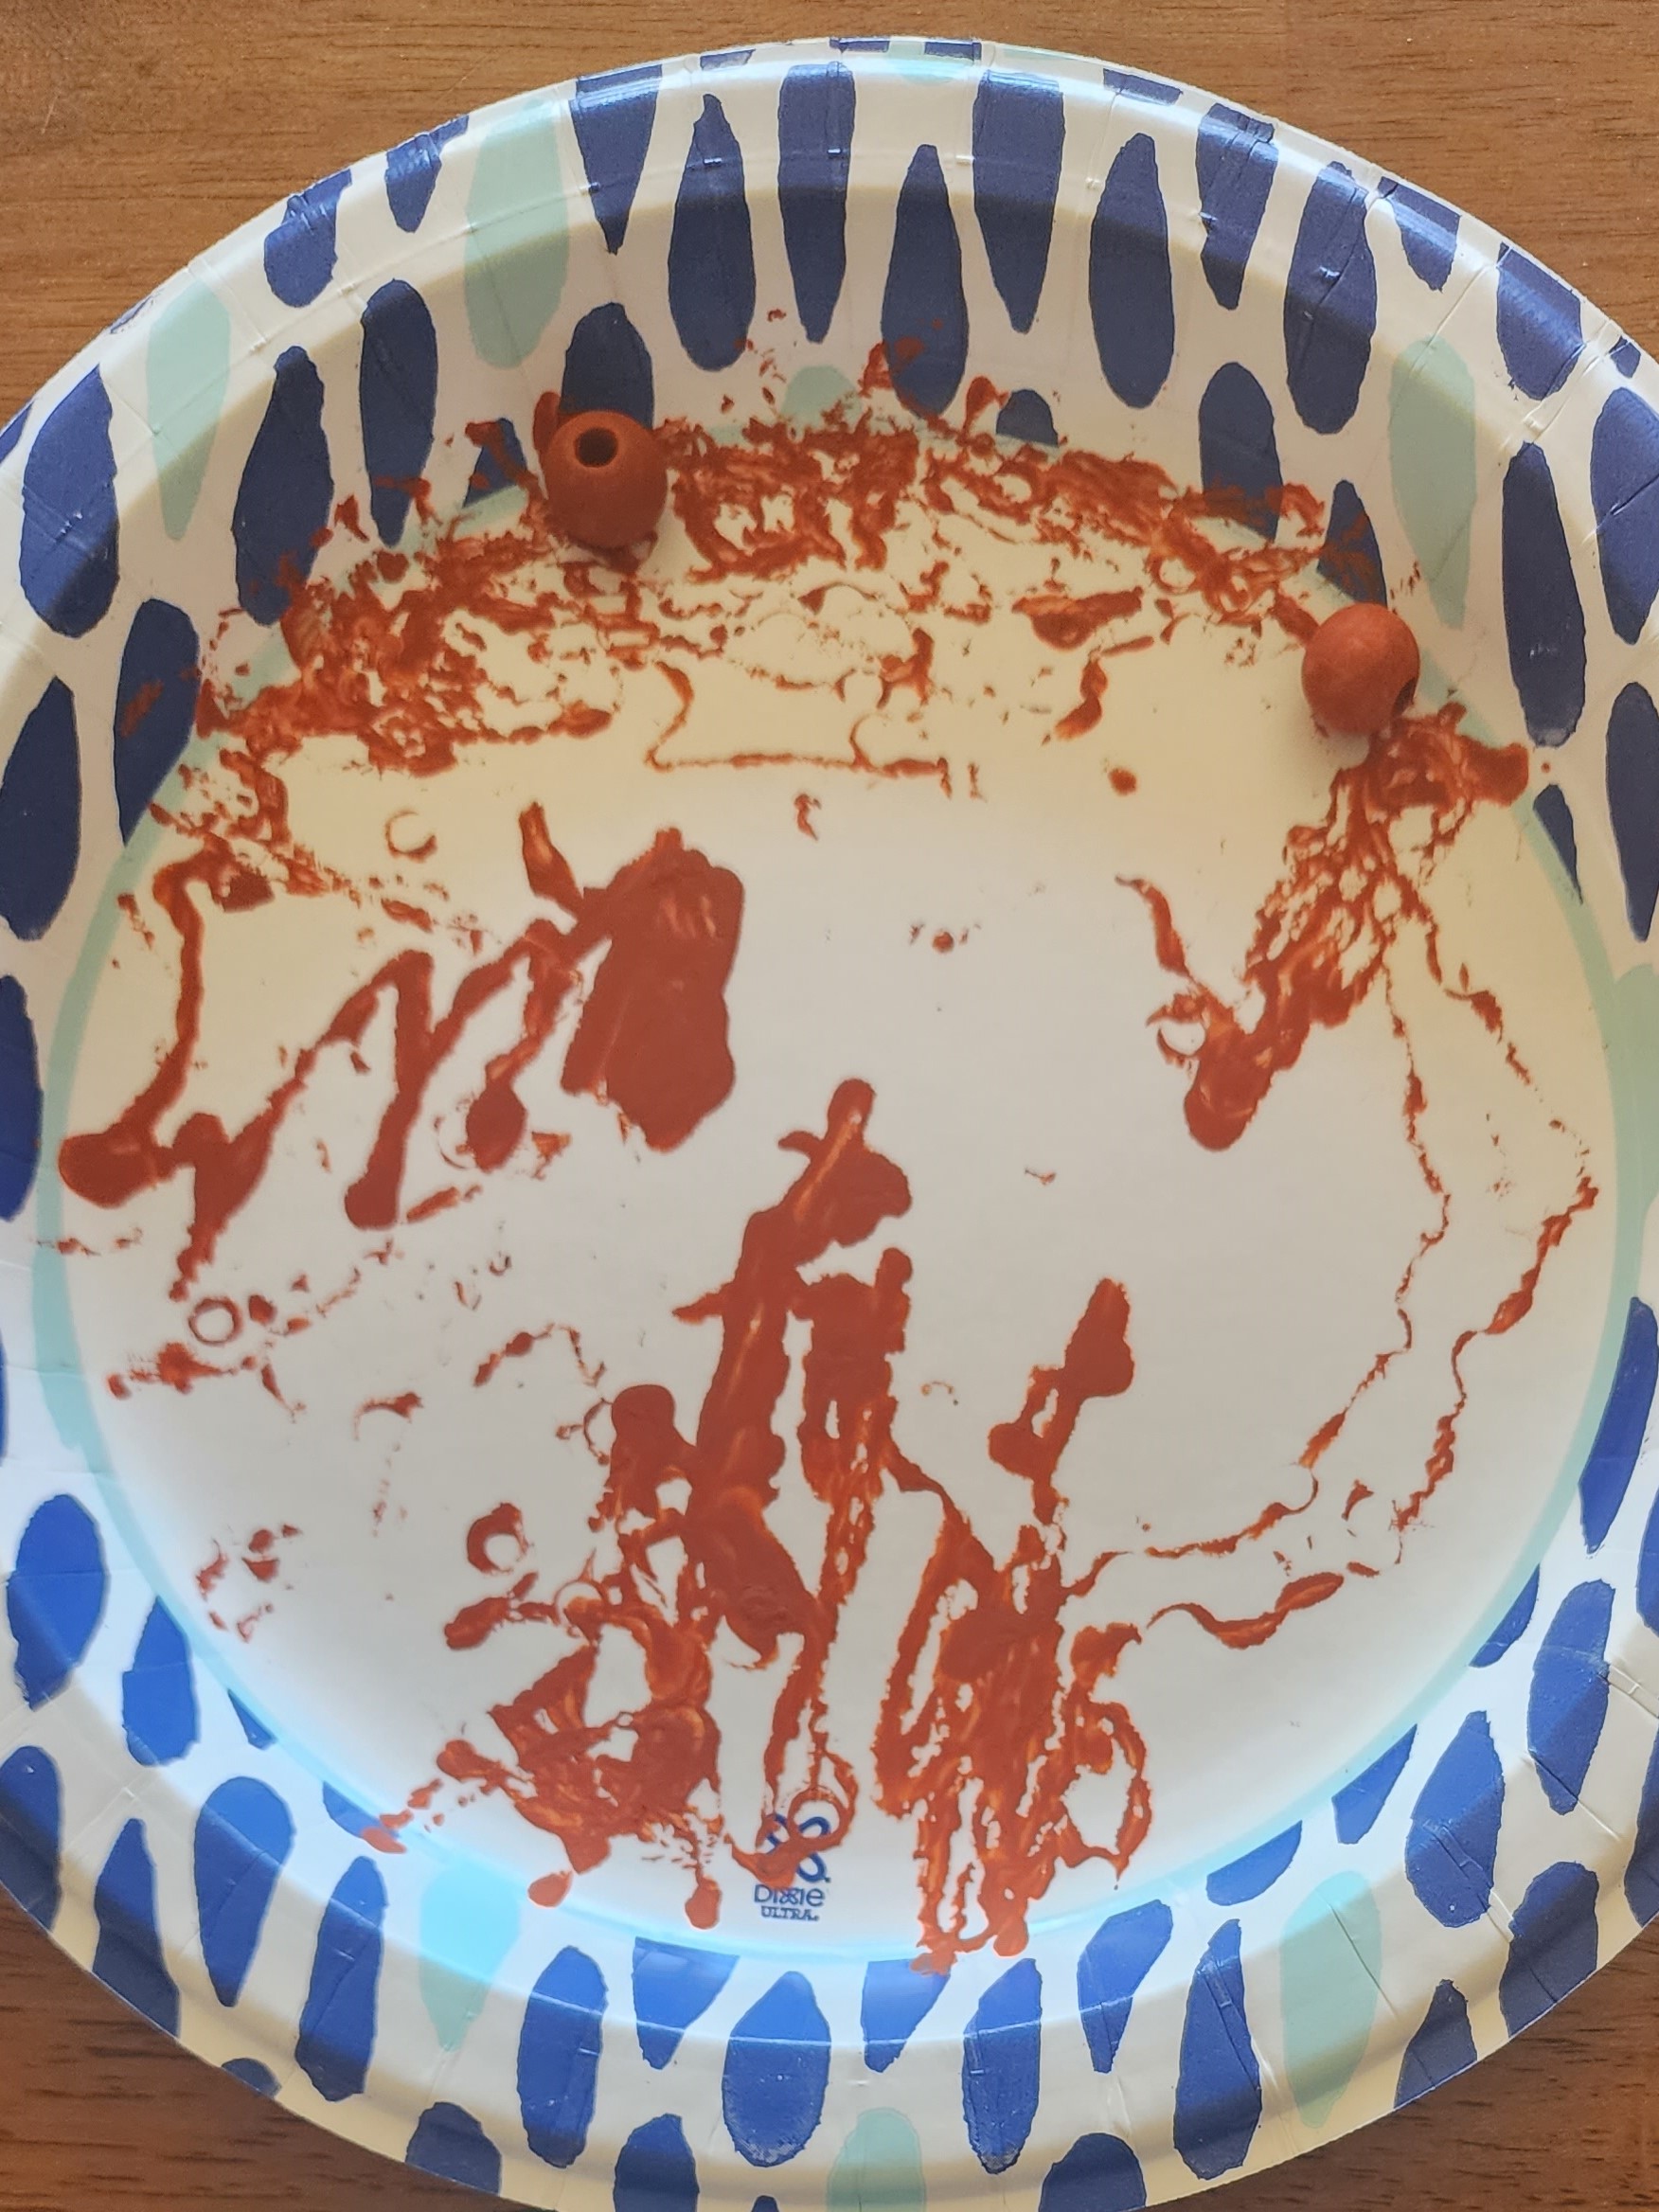
This is the décor piece I bought from Dollar Tree. The plaque is removeable like a picture frame and the piece that comes out is exactly 5" which is the size of the square in my file. I wanted to add more color so I painted the beads orange and black and lightly sanded the frame and dry brushed black paint. Here's a tip for painting beads. Place a little bit of paint in a plastic bag or even a small tupperware. Place the beads inside and close tightly and shake. The beads will coat themselves (first picture). Next place them onto a plate and let them dry or use a heat gun to speed up the process. Here are the beads after drying with a heat gun. Note: Do not use a hair dryer or the beads will go flying everywhere.
That's it. Now to find the Booze :)